Travel Planning can be a nightmare for some. Most avoid it and opt for packages or tours that generally have more “on the rails” experiences. However, you are in the right place if your adventurous soul craves more and you want to get out there and explore “off the rails” in the countries you visit. Travel-Wise has made it its mission to make itinerary creation and your customized trip planning faster and easier than ever. Let’s explore more of this process to see how to create an itinerary with Travel-Wise.
What is an itinerary template?
Itinerary templates are re-usable templates that any Travel-Wise community member can make. They can be public to share with the community or private so you can optimize your workflows. Other users can then utilize templates to create their custom trip plans quickly if they are made public via “Publishing.” An itinerary should be written for others (not yourself) to help others with their travel arrangements. This allows you to create a generic template you can quickly re-use to build a Trip Plan from (you can think of using the itinerary template as a building block for someone’s custom trip plans).
Trip Plans are designed for specifics for planning your personalized trips. Itineraries are a great way to share your experience, expertise, and knowledge to help attract travelers to specific routes, places, or areas. Users can then upvote itineraries that have helped them plan their trips so they can use good judgment on which trip plans are most recommended before using them in their trips.
Example
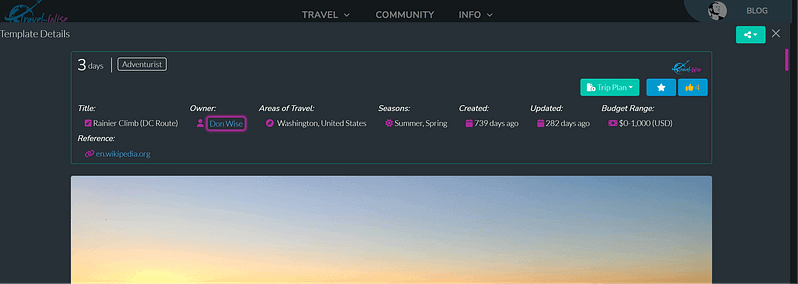
For example, I can create an itinerary template if I am a trip planner or tour guide specializing in a specific region with a 5-day plan. From there, I can use that template to create a custom trip plan for my clients quickly. This saves a ton of time. Then, they can use the trip plan for journaling and accessing all the details of their trip from their phone. The template might make sense for 90% of my clients, so then I only need to customize the template for specific client needs on occasion. Further, I can put my itinerary on my website using Travel-Wise’s shareable card, so others know exactly what services I offer with my itineraries very clearly.
Travel-Wise has several options to make it easy for you to create new itinerary templates for others. Once you go on your trip, the fastest way is to use your new experience to write an excellent itinerary template for it and share it with others.
How to use an itinerary to make your planning faster
An itinerary is genuinely a template to help you start trip planning faster than ever. After you’ve grown adjusted to using itineraries to build your future travels as building blocks, you’ll never go back! Give it a try! Pick an itinerary and start planning your trip. We go through the process of using itineraries to plan your trip in more detail here.
Different ways you can create a template itinerary for the community
Creating an itinerary from scratch takes research, experience, and time. You don’t want to trust an itinerary without these factors. That’s why we’ve tried to make vetted community itineraries voted on by our community and AI itinerary generation (that uses the best knowledge of the internet to power the itinerary creation) the standard for creating new itineraries. Check out the different options below for more details.
We wanted to eliminate the hassle of creating itineraries and make creating and sharing travel itineraries fun and accessible to everyone. If you have more ideas on how we can make creating itineraries easier, reach out to us and let us know your idea!
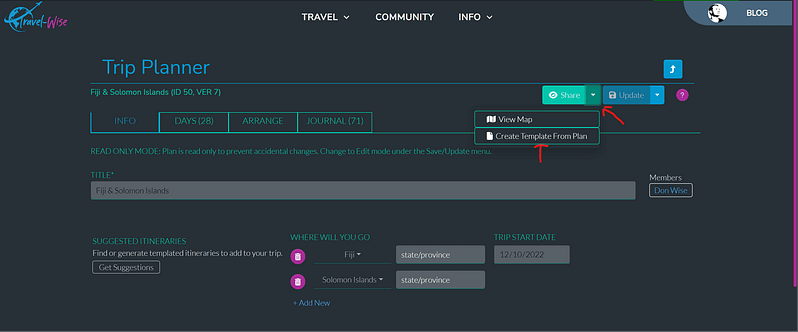
Create an itinerary from your trip plan
The fastest way to create a new itinerary for others to use on Travel-Wise is to use the Trip Planner to plan your custom trip. Then, after your trip and you’ve had some rest, use the tool to create a new itinerary with your trip as the guide! What better expert at the trip and experience to write it? While your knowledge is fresh, help write the trip’s details and what someone curious about the itinerary would want to know what they will experience. Then “Save” and then “Publish” the itinerary for others! Make sure you “Publish” as the itineraries default to private until you can share it with others.
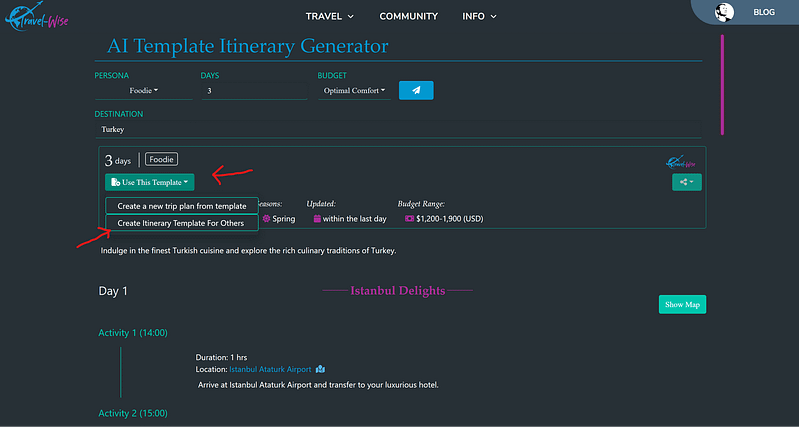
Create an itinerary starting from an AI generated itinerary
The next best thing for generating an itinerary from a trip you just went on is using the AI itinerary generator to give a base outline. Let’s face it: certain parts of the world have attractions many people want to see. AI will recommend these places in the base itinerary. Then, you can further pick a Travel Persona and customize the template from your experience. It serves as a baseline to get started. After all, editing tends to be much easier than starting from scratch! The tooling allows you to move around days and events as needed.
Create your itinerary from scratch
Don’t want to work off a recent trip plan or generate an itinerary with AI? No problem.
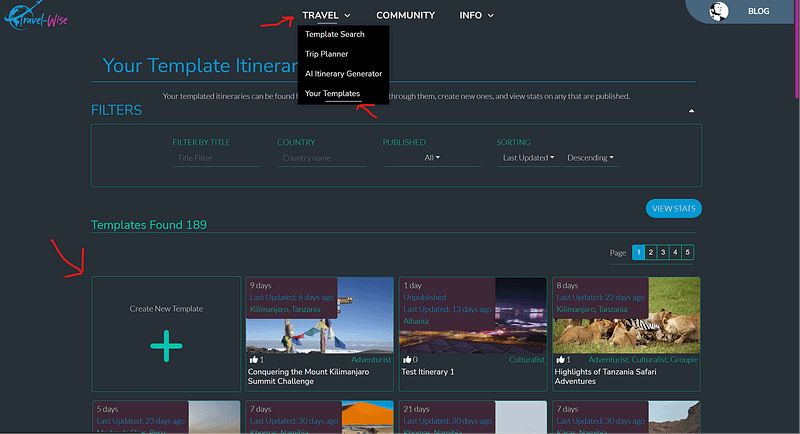
Create an itinerary template from scratch in the menu under “TRAVEL” -> “Your Templates” -> “Create New Template” button. This will create a template from scratch, where you can fill out all the titles, descriptions, personas, seasons, days, and events you’ll recommend to the user. Given that you may have a lot of experience or be building your itinerary off existing itineraries outside of Travel-Wise, this may be the best option. You still get all the customization and tools we offer and can make the itinerary reflect what you want to recommend to our community.
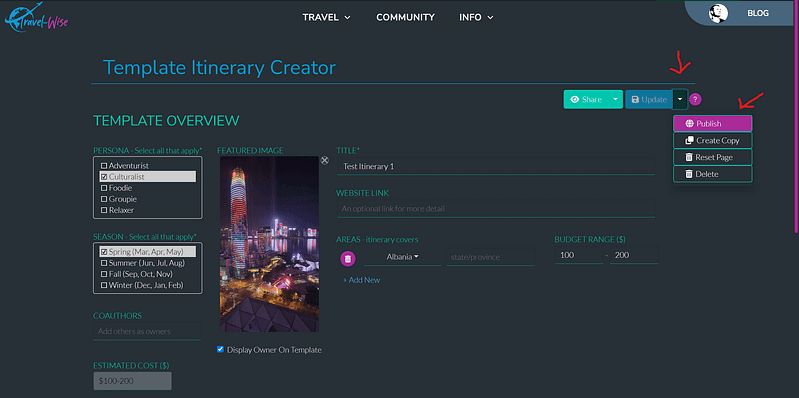
Make sure to Publish
All itineraries are private by default to protect your data. When your itinerary is ready for others to use, next to the “Update” button is a drop-down arrow. Click this and then click “Publish,” which will make your itinerary available on the search page. Note that for “Publish” to be available, you must “Save” the itinerary to push the first version to the server.